Recently I’ve taken up photography as a hobby. This came about because I decided I need a hobby that’s more involved than sitting around drinking, or playing video games, or watching tv, or mastur-… you get the idea. I’d been looking at ticking up (read: buying on finance) a mid-end DSLR and seeing if I can take pictures that actually look good, rather than the snapshots I, like most people, have taken with our phones.
Thankfully I got lucky and was able to get a free camera from my work (to put it simply, rewards program, and I’m good at my job) so I didn’t end up having to put down the massive outlay on a decent camera when it might not even be something I keep doing. I managed to get myself a Samsung NX300, which for people who don’t click links is a Mirrorless, or Compact System Interchangeable Camera, or basically a camera with the benefits of a DSLR (lots of features, changeable lenses), without the size or weight. I also picked up a 45mm f/1.8 prime lens (with 3d ability, not that I’ll use it) since Samsung had a bit of an offer going with their lenses when purchased from their website.
Before I actually had the camera in my hands, I spent a fair bit of time watching photography videos online to try and get the basics down. If you haven’t seen it before, I really recommend spending a bit of time watching the DigitalRevTV youtube channel. It’s kind of like the photography version of Top Gear in that they review gear as well as give hints and tips on photography, but they do kind of ridiculous stuff while they’re at it (also the host has a rocking British accent). There are a lot of other channels out there who give hints on the basics like how to get out of auto mode, and how to create interesting compositions, and I really recommend just having a look until you find one that interests you.
I’ve learned a few things over the month or so since I got my hands on this camera, and while they’re probably obvious to anyone who’s been taking pictures for a while, I kind of wish I’d had someone to tell me this stuff to start off, or paid attention when I read it for myself. I’m not going to go into the basics of what aperture, shutter speed, and ISO mean in this post since there are people better at explaining it than me.
- Do your research before you buy into a system. Once you’ve got a camera you’ll find yourself locked into lenses and other gear that’s made for its mounts. I don’t regret getting the Samsung (especially since it came free, so the only financial outlay I’ve had so far is a single lens), but one thing that I’m finding is that it’s hard to get lenses and other accessories for the NX system in New Zealand. There’s not a lot of them out there, so the second hand market is almost non-existent, and even finding retailers that stock things is almost impossible. My next lens purchase will almost definitely have to come from overseas, which means I’m going to be pumping a lot of cash into not only shipping, but most likely having to pay GST before the package is released to me (GST is charged on imports worth more than a certain amount). I’m keeping an eye on trademe as well as Samsung’s own website for stuff, but it’s rare that it comes up (note, while I was writing this I managed to find a compatible shutter remote on trademe that wasn’t too expensive, so it’s not impossible). I am looking at getting either a Nikon or Canon second hand if I can get a decent one cheap enough so that I can start building up a collection for that system as well (which I can hopefully continue building if I get to the point of getting more advanced gear).
- Take your camera off auto mode as soon as you get it. Auto is great for when you want to take a quick snapshot, but you didn’t buy a fully-featured camera so you can use it the same way as your smartphone or a point-and-shoot.
- Putting it on aperture-priority (A or Av on the dial) will let you have some control over how your pictures look by letting you choose your aperture (which controls your depth of field, or how much stuff gets in focus basically), while the camera picks a shutter speed and ISO to help get the correct exposure. If you mostly deal with landscape photography you can set it to a low aperture (a high number), and you should get a shot with a lot in focus. When you want a single subject, like a portrait or still life, setting a wide-open aperture (or a low number) will mean that your focus is narrower, and things behind or in front of what you focus on will be blurry (which means one of my favourite things: Bokeh!)
- Shutter Priority (S or Sv) will let you choose whether you want to take a shot of something quickly, to freeze a single moment in time, or to let the shutter stay open a little longer, which means motion blur among other things. I’ve found this less important personally, but I don’t take photos of people running around. If you do, this will help you.
- Manual is the way to do it when you want to take control over everything. I spend most of my time in manual, however I feel that I should kick that habit for a little while and let the camera teach me a few things since I think I’m getting some bad habits.
- Don’t get scared of your camera’s performance at high ISO. When you look at reviews of cameras you always see them talking about getting more grain in your shot at higher ISOs, and if you’re anything like me you might want to keep everything set to as low an ISO as possible to avoid grain. This is one of the bad habits I need to get myself out of since I keep my camera set to ISO 100 most of the time. This means that I’m most often shooting with the aperture wide open to let more light open, which means that I’m losing a lot of sharpness because of the shallow depth of field I’m pulling. My next few trips out I’m going to make myself keep the camera on Auto-ISO and be more interesting with my choice of aperture and shutter speeds.
- Shoot in RAW. Seriously, just do it. It might be easier to shoot in JPEG to get the picture straight out of the camera and post it to facebook or whatever directly, or you might be able to fit more pictures on an SD card, or your camera might be able to take more shots per second in continuous-mode, but those benefits probably don’t matter as much to a beginner wanting to get shots that look good. When you shoot in RAW you basically get another chance to make a shot that might have been under or over-exposed look good by adjusting it in a program like Lightroom, since the camera has recorded every little bit of information that the sensor picked up. When it converts in camera to JPEG you lose a lot of that information, meaning that you might not be able to pick up subtle detail in a photo that hadn’t exposed correctly.
- As an example, here’s a shot that I hated when I was reviewing after going out for a shoot since it was pretty badly exposed when I looked at it. Below is the picture how it came directly from the camera:
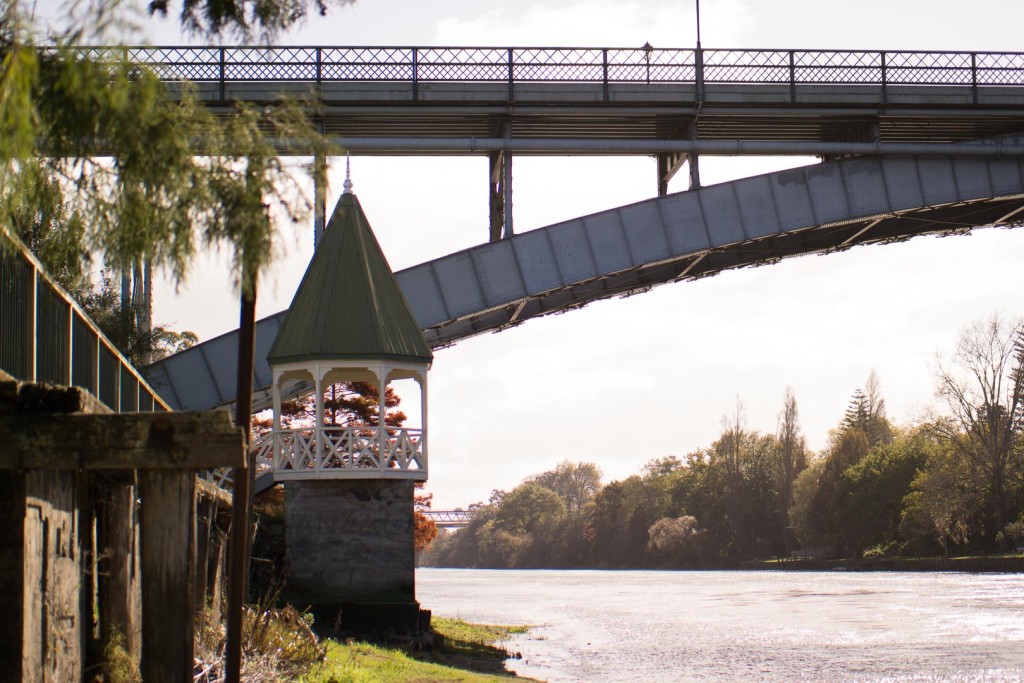
See how the sky is almost pure white and makes it hard to see any contrast with the bridge and the architecture? I put it into lightroom, used the auto-tone tool which pushed the exposure down a few stops (and then I tinkered a bit, especially with a graduated filter to brighten the left side of the shot a bit) and came out with this:
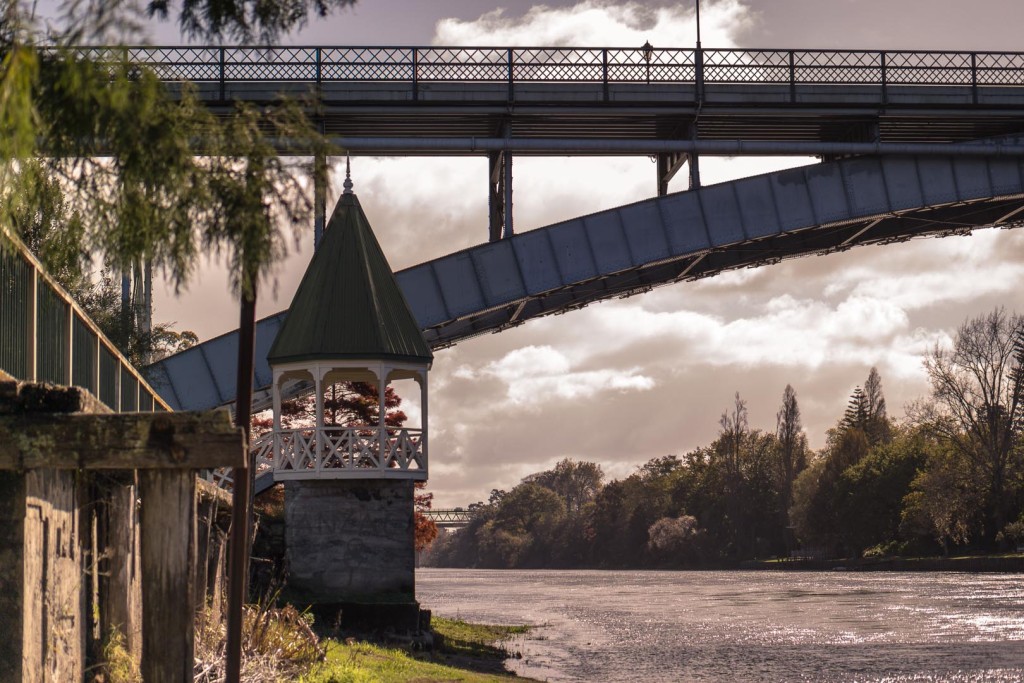
Maybe not a great photo, but a lot better than it was since you can see the texture in the clouds, but it doesn’t distract as much from the rest of the frame. I wouldn’t have been able to do this as well if I’d shot the pic in JPEG.
- As an example, here’s a shot that I hated when I was reviewing after going out for a shoot since it was pretty badly exposed when I looked at it. Below is the picture how it came directly from the camera:
- Keep practicing. If you don’t have a chance to go out for a shoot, or if the weather is too bad to get out with the camera, maybe spend a bit of time reading about photography, or doing some post-processing. If you don’t keep practicing and learning you won’t improve, and that will make you eventually put the camera down.


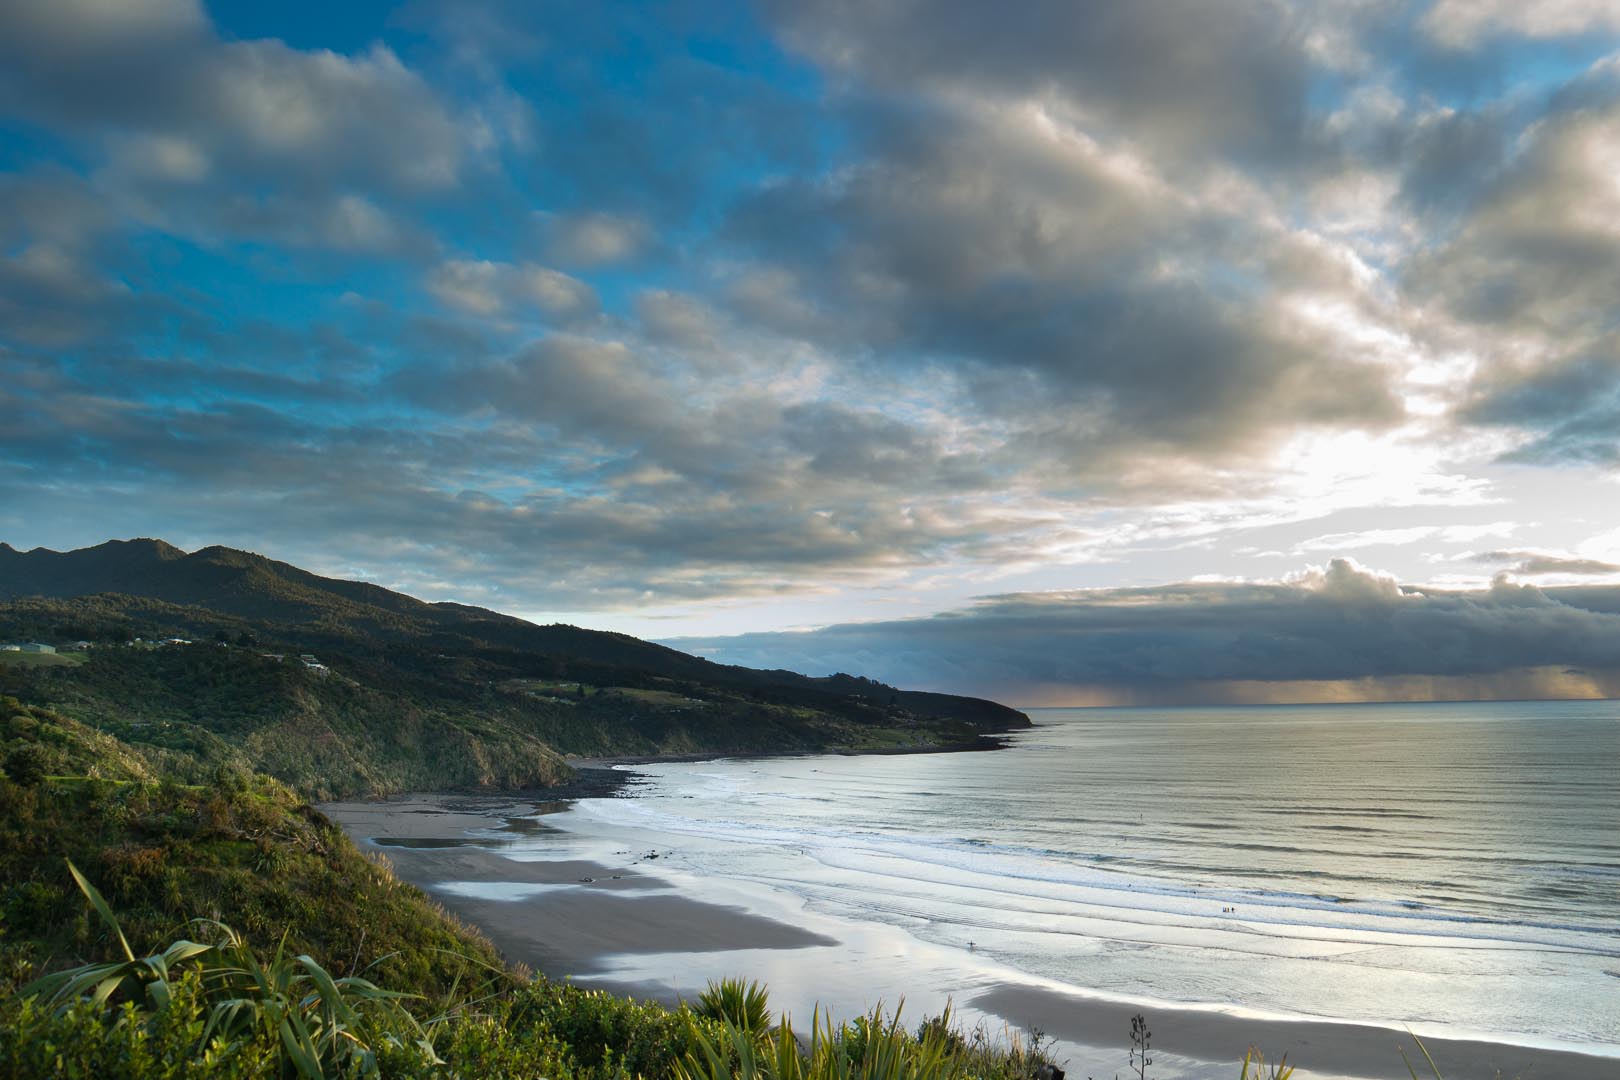
It’s been a little while since I’ve taken the camera out, which is something I really need to fix soon. I’m planning on getting a 16mm wide angle lens, which will hopefully give me better results with landscapes than my kit lens. I just need to get a few bills paid before I spring almost a week’s pay on it (as well as make sure I’ve got enough money for a beer drinking vacation to Wellington in a month’s time).